- Home
- Services
- IVY
- Portfolio
- Blogs
- About Us
- Contact Us
- Sun-Tue (9:00 am-7.00 pm)
- infoaploxn@gmail.com
- +91 656 786 53
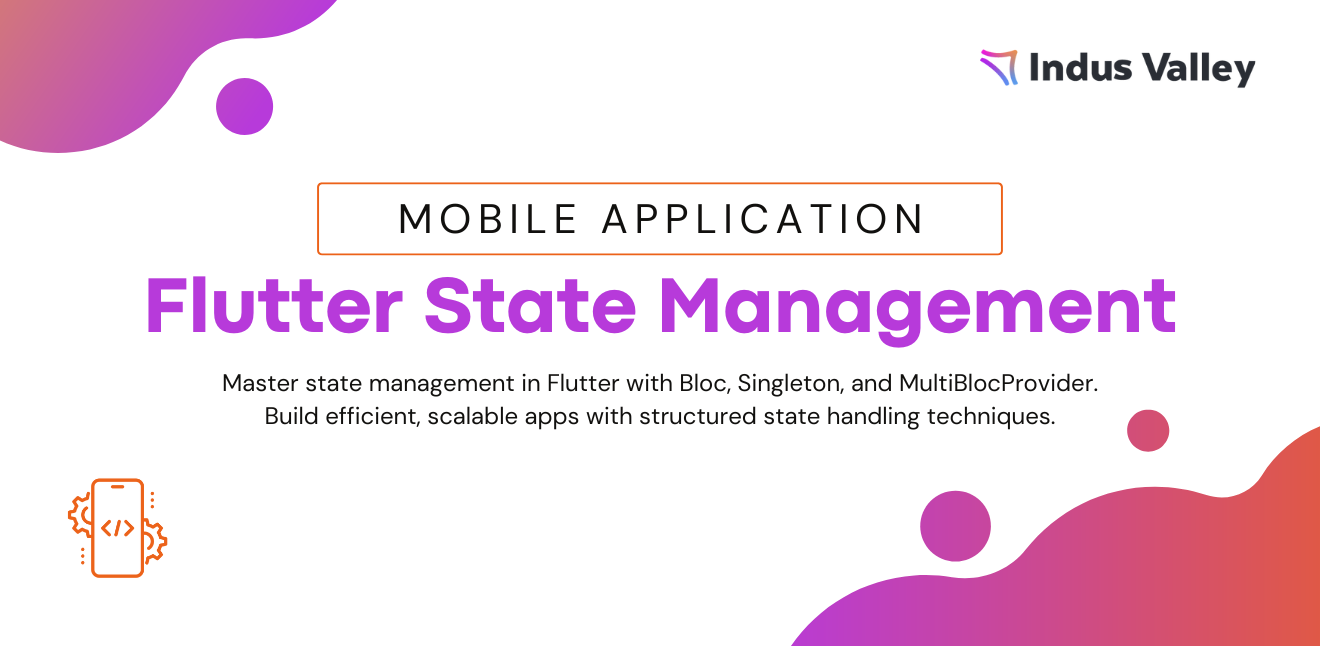
As a product engineer, managing state effectively has always been crucial in building scalable and maintainable applications. In my journey with Flutter, I’ve found that separating business logic from the UI is key to enhancing the testability, scalability, and readability of the app. This is where the BLoC (Business Logic Component) pattern comes into play. In this post, I’ll demonstrate how I use BLoC in combination with the Singleton pattern for managing global state and MultiBlocProvider for providing all BLoCs at once at the start of the app. Additionally, I’ll show how to use BlocConsumer to handle UI updates and side effects separately.
In any large-scale application, managing state consistently and in a structured way is crucial. BLoC allows me to decouple the business logic from the UI, making the code more modular and easier to test. It also uses Streams to handle state changes, which makes it highly suitable for complex state management scenarios.
I prefer using BLoC because:
When I need a global state that should be shared across multiple screens or widgets, Singleton is the pattern I choose. It ensures that only one instance of a class exists throughout the entire app. For example, in a counter app, using a Singleton ensures that all parts of the app are accessing the same instance of CounterBloc, which avoids unnecessary resource consumption and state inconsistency.
To use BLoC in Flutter, I start by adding the necessary dependencies in the pubspec.yaml file. Specifically, I use the flutter_bloc package, which simplifies BLoC implementation.
dependencies:
  flutter:
    sdk: flutter
  flutter_bloc: ^8.0.0
The next step is to define the events and states. For this counter app, I’ll create two events (IncrementCounter and DecrementCounter) and a CounterState that holds the current counter value.
Counter Events:
abstract class CounterEvent {}

class IncrementCounter extends CounterEvent {}

class DecrementCounter extends CounterEvent {}
Counter States:
class CounterState {
  final int counterValue;
  const CounterState({required this.counterValue});
}
In this step, I implement the CounterBloc using the Singleton pattern to ensure that only one instance of the CounterBloc is used throughout the app.
import ’package:flutterbloc/flutterbloc.dart’;

class CounterBloc extends Cubit<CounterState> {
  // Private static instance to enforce Singleton
  static final CounterBloc instance = CounterBloc.internal();

  // Private constructor
  CounterBloc._internal() : super(const CounterState(counterValue: 0));

  // Factory constructor to return the same instance
  factory CounterBloc() {
    return _instance;
  }

  // Logic to increment or decrement the counter
  void increment() => emit(CounterState(counterValue: state.counterValue + 1));
  void decrement() => emit(CounterState(counterValue: state.counterValue - 1));
}
In this implementation:
I can also define additional BLoCs as needed. For example, a UserBloc can manage user-related information. Here’s how I define the UserBloc:
class UserBloc extends Cubit<String> {
  UserBloc() : super("No User");

  void setUser(String userName) => emit(userName);
}
To initialize multiple BLoCs at the start of the application, I use MultiBlocProvider. This allows me to provide multiple BLoC instances in one go. Here’s how I set up MultiBlocProvider in my main app widget:
import ’package:flutter/material.dart’;
import ’package:flutterbloc/flutterbloc.dart’;

class App extends StatelessWidget {
  @override
  Widget build(BuildContext context) {
    return MultiBlocProvider(
      providers: [
        BlocProvider<CounterBloc>(create: (_) => CounterBloc()),  // Singleton Bloc
        BlocProvider<UserBloc>(create: (_) => UserBloc()),       // Another Bloc
      ],
      child: MaterialApp(
        home: CounterScreen(),
      ),
    );
  }
}
Now, to handle both the UI updates and side effects separately, I use BlocConsumer. It lets me listen to state changes and perform side effects like showing a snack bar, logging, or navigating. Here’s how I implement BlocConsumer in the CounterScreen widget:
class CounterScreen extends StatelessWidget {
  @override
  Widget build(BuildContext context) {
    return Scaffold(
      appBar: AppBar(title: Text(’Counter App with Singleton’)),
      body: Center(
        // Using BlocConsumer to listen to state and handle UI and side-effects
        child: BlocConsumer<CounterBloc, CounterState>(
          listener: (context, state) {
            // Handle side effects (e.g., show a snack bar, log something, etc.)
            if (state.counterValue == 10) {
              // Example of a side effect when counter reaches 10
              ScaffoldMessenger.of(context).showSnackBar(
                SnackBar(content: Text(’Counter has reached 10!’)),
              );
            }
          },
          builder: (context, state) {
            // Build the UI based on the current state
            return Text(
              ’Counter: ${state.counterValue}’,
              style: TextStyle(fontSize: 50),
            );
          },
        ),
      ),
      floatingActionButton: Column(
        mainAxisAlignment: MainAxisAlignment.end,
        children: [
          // Increment button
          FloatingActionButton(
            onPressed: () {
              context.read<CounterBloc>().increment();  // Using Singleton instance
            },
            child: Icon(Icons.add),
          ),
          SizedBox(height: 10),
          // Decrement button
          FloatingActionButton(
            onPressed: () {
              context.read<CounterBloc>().decrement();  // Using Singleton instance
            },
            child: Icon(Icons.remove),
          ),
        ],
      ),
    );
  }
}
By combining BLoC, Singleton, and MultiBlocProvider, I can manage app state effectively and efficiently. The Singleton pattern ensures that only one instance of the CounterBloc exists across the app, while MultiBlocProvider simplifies the initialization of multiple BLoCs. Using BlocConsumer allows me to handle both the UI and side effects separately, keeping the app organized and responsive.
With these tools, I can ensure that my Flutter applications are scalable, maintainable, and responsive, which is essential when working on large projects. Whether it’s managing a simple counter or handling complex workflows, BLoC provides a clean and powerful solution for state management.
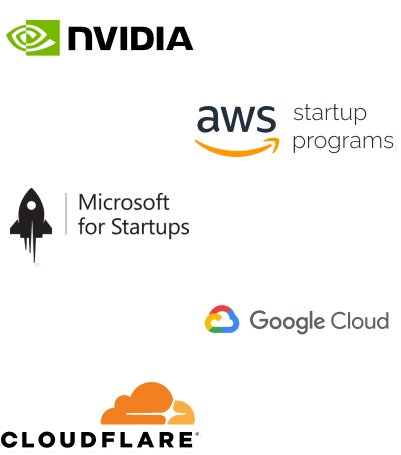
Imagine reducing your operational costs by up to $100,000 annually without compromising on the technology you rely on. Through our partnerships with leading cloud and technology providers like AWS (Amazon Web Services), Google Cloud Platform (GCP), Microsoft Azure, and Nvidia Inception, we can help you secure up to $25,000 in credits over two years (subject to approval).
These credits can cover essential server fees and offer additional perks, such as:
By leveraging these credits, you can significantly optimize your operational expenses. Whether you're a startup or a growing business, the savings from these partnerships ranging from $5,000 to $100,000 annually can make a huge difference in scaling your business efficiently.
The approval process requires company registration and meeting specific requirements, but we provide full support to guide you through every step. Start saving on your cloud infrastructure today and unlock the full potential of your business.